
Odds are, if your curiosity draws from the realm of Georgia`s native plants, wildlife, or natural history, you are likely to have noticed the many ferns living among us. While admiring these mysterious, prehistoric plants, you may have found yourself wanting to know more about how ferns came to be or how to propagate them. Today, we hope to indulge your curiosity and encourage you to enjoy the process of growing them for yourselves. Propagating your own ferns, or plants in general, can be a very rewarding feat. We will start with a brief summary of fern evolution, followed by a bit of basic fern biology, and will finish with a guide for propagating ferns from root division and sowing spores. For the Love of Ferns!
A Brief History of Ferns

Ferns (Polypodiopsida), along with their pioneering relatives – liverworts (marchantiophytes) and clubmosses (lycophytes) – were some of the first plants on land. They have been around for over 350 million years, dating back to the Devonian era (also known as the “Age of Fishes”). Around that time, the first forests appeared, and early tetrapods began to crawl onto land.
At this time, the Earth was much warmer, and the overall climate was relatively stable throughout, which allowed for the earliest land plants to take root and spread. Since then, the Earth has undergone multiple geographical (tectonic activity) and climatic changes (glaciations). These changes led to a change in growing conditions, resulting in the extinction of many species of fern.
The ferns commonly seen today represent a very narrow scope of sizes, shapes, and textures. Some early – now extinct – ferns include the Pseudosporochnales, which grew as tall as trees, and the Stauropterids, which were reminiscent of small, feathery shrubs. The earliest ferns evolved and proliferated in wetlands, which covered a significant part of the prehistoric supercontinents. In-fact, most of the coal and oil reserves we have today are the result of the rampant growth – and decay – of these early fern species. As the ferns died, the plant material would sink into oxygen-devoid swamps. These anoxic conditions prevented micro-organisms from breaking down the plant tissues, so with time (and a lot of pressure), the plant material became fossilized – hence the name “fossil fuels”.
Today, there are over 10,000 species of fern. Georgia is home to 119 species (along with some hybrid species), which inhabit a multitude of habitat types stretching from the Coastal Plain to the Blue Ridge. Ferns are commonly found in early successional plant communities (see our last blog post for more about succession).
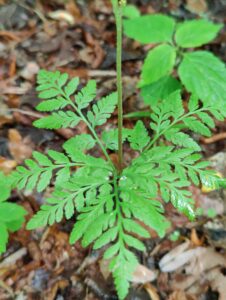
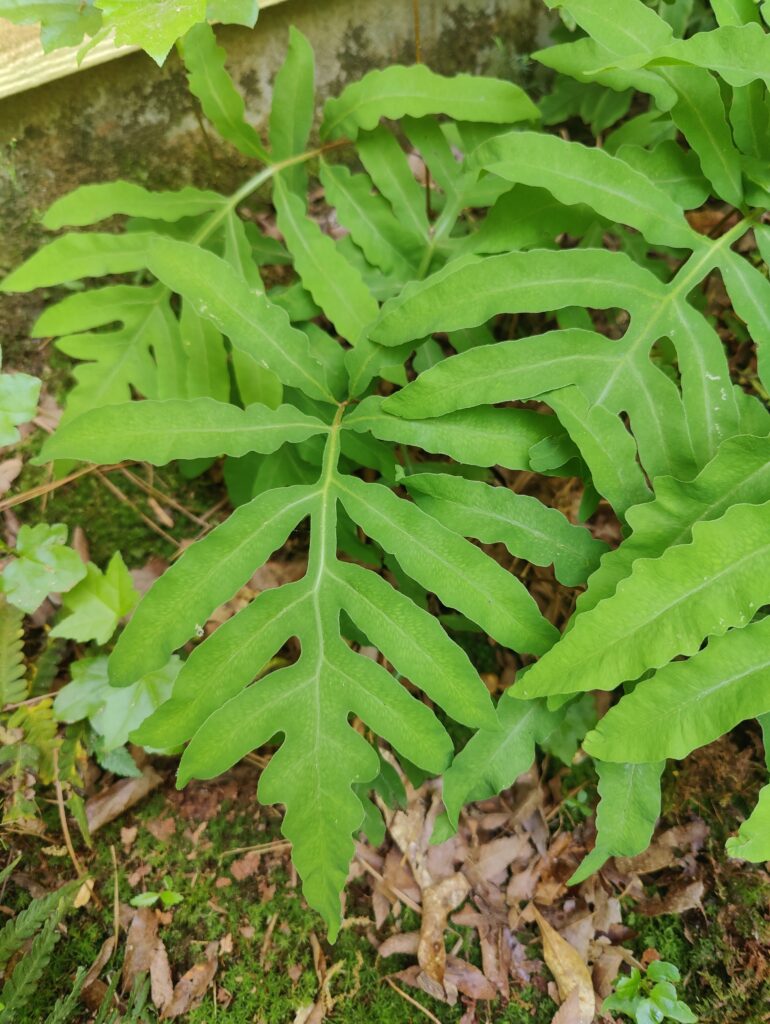
Ferns grow by taking root in bogs, rock-crevices, marshes, coves, and other warm, moist areas. Some ferns even grow epiphytically (on trees). Generally speaking, ferns are ill adapted to cold climates and high altitudes, so it is uncommon to find them outside of the tropical, subtropical, and temperate zones.
We’ve been dancing around the question: “What makes ferns so successful that they’ve outlived millions of years of global change?” The answer comes down to their biological simplicity and a little bit of luck. Ferns have evolved on the same playing field as all other organisms through geologic time, meaning they have been able to survive, adapt, and persist today. These “living fossils” (again, it is important to note that they have continued to evolve over time) have a unique reproductive mechanism, dating back to a time before gymnosperms and flowering plants (angiosperms) became the dominant flora. Blend a consistently warm climate with rich soil and bit of water: there you have a perfect place for ferns to thrive.
Parts of a Fern
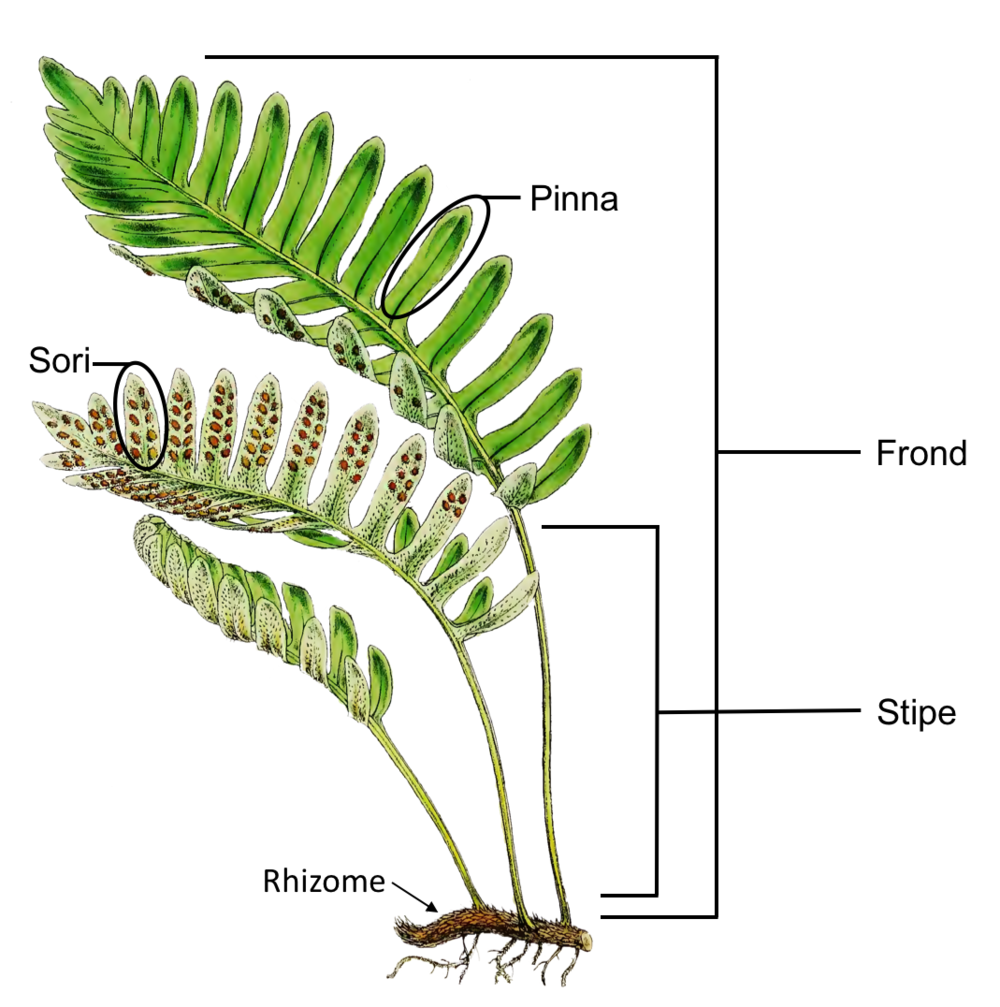
Before we dive into fern reproduction, you`ll need to familiarize yourself with their important parts. Ferns (and other vascular plants) have a true root system, simple stems, and leaves. The key difference between ferns and other vascular plants is that ferns reproduce via dust-like spores, which are commonly found along the backsides of the leaves (pinnae).
The rhizome functions to absorb water and anchors the stalk (stipe) to the soil. Branching from the stalk are the individual leaves (singular: pinna). Together, the stalk and its leaves form a frond. Fern leaves can have highly complex arrangements, with leaflets arising from leaflets arising from leaflets, making identification tricky. We’ve included some useful websites for identifying ferns and selecting native ferns for your landscape. Please refer to the “Additional Resources” section at the end of this article.
Like most vascular plants, ferns exhibit two life-stages: the gametophyte (nearly microscopic, produces gametes: sperm and egg),= and the sporophyte (fern that produces spores when mature). The spores of are held in compact structures called sporophylls, which are arranged in clusters (sori) across the pinnae. Surrounding each cluster of sporophylls is a circular structure called an annulus, which controls the release of spores. When conditions are right for the spores to be released, the annulus will loosen its grip on the sporangia, allowing the spores to be released.
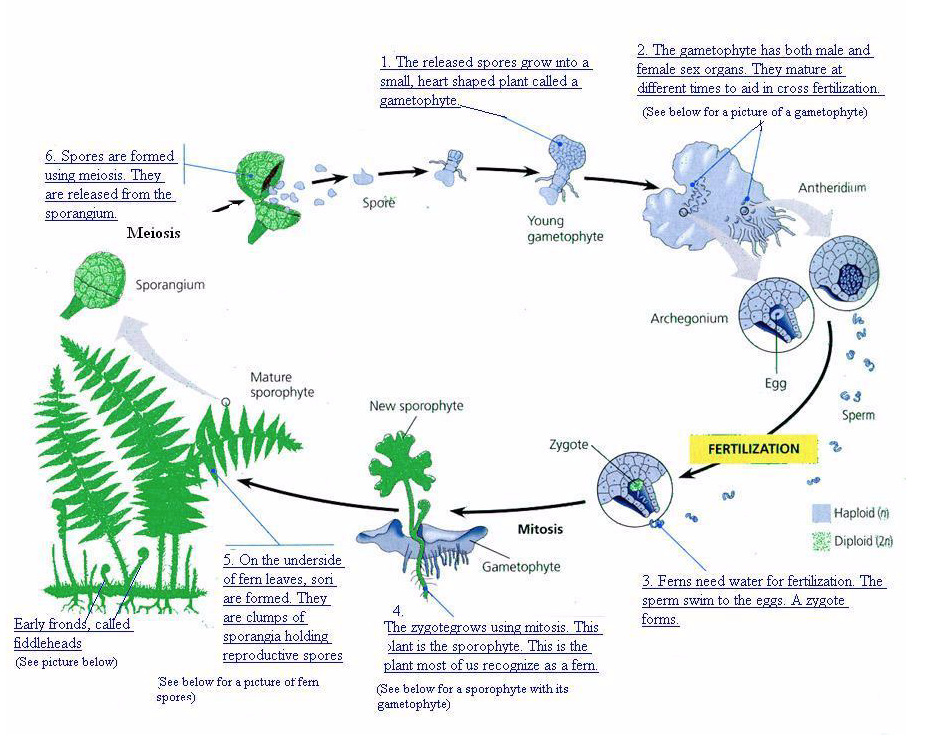
Ferns lack flowers, so, in order to reproduce they utilize water to bring their gametes together for fertilization. Spores fall from the sori, where they are stimulated by moisture in the soil. The spores are then triggered to develop into microscopic, heart-shaped prothali (singular-prothalus), which grow into gamete producing structures called thalii (singular- thalus). A single fern thalus is capable of producing either male (sperm) or female (egg) gametes, but never both. Once mature, thalii release the gametes, and, with the facilitation of water, the gametes are brought together to form a zygote. This zygote then divides many times over until it eventually becomes a spore producing fern. Thus, the cycle begins again.
How to Grow Your Own Native Ferns
*Note: When collecting plants or plant propagules from the wild, always make sure you are doing so ethically, and within the bounds of state and federal law.
There are two ways to propagate your own ferns: root division and sowing spores. Root division is the simplest of the two methods, and is typically done during fall or early spring, while many of Georgia`s ferns are dormant. For ferns in the ground, use a spade to dig completely around the root ball, then lift it from the soil. Shake off the soil so you can get a good look at the root system. You can use a pair of sharp pruning shears to divide the clump into halves or quarters. Trim off the dead fronds, and cut one-third of the foliage back to the base of the rhizome. Replant into pots or nursery beds using compost, or any potting mix that is high in organic matter. Finally, water the transplanted ferns thoroughly. If you prefer to leave a part of the parent plant in the ground, you can use the spade to cut between the clusters of fronds, and remove just a single section of the parent plant. Root division is a quick, relatively easy way to make more ferns.
For those who are much more patient, and utterly fascinated by the primordial and bizarre ways that ferns develop, we encourage you to try propagating your own ferns from spores. When propagating ferns from spores, cleanliness is absolutely crucial to preventing unwanted fungi or bacteria from impeding the growth of your ferns. Make sure you are working with sterile materials, and keep away from gusts of wind or fans while sowing your spores. Not everyone uses the same exact method, or has access to the same materials, so we encourage you to make most of what you have. Enjoy the process!
Spore collecting
What you’ll need:
- Paper Bag or envelope
- Pocket knife or pruning shears
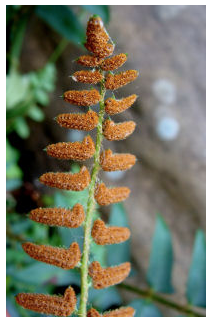
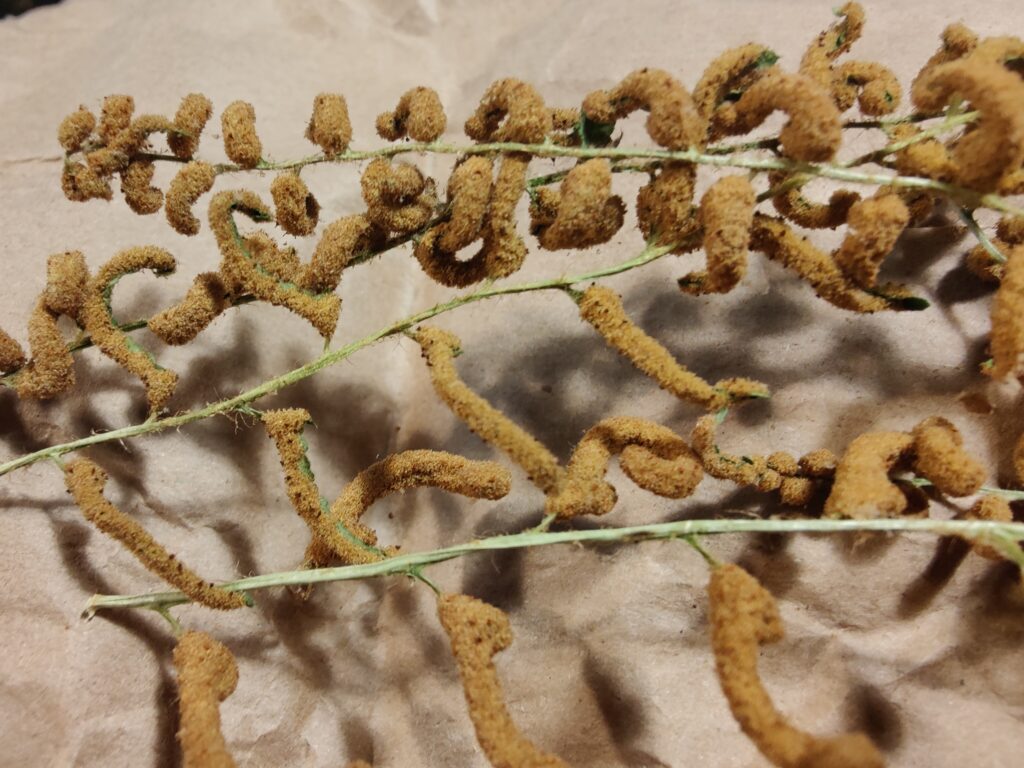
In Georgia, May-June is an opportune time to start your search for ferns laden with spores, but keep in mind that each species produces spores at different times. Start by selecting the fern you wish to propagate. Check the backsides of each frond until you find the fertile fronds, which hold the spores. See if the spores are ripe by tapping the frond, and notice if you can see spores scattered through the air. Spores have a tendency to cover your clothes, so check there too. If you see the spores releasing from the frond, you’ll know that it’s the right time to collect them. You can then snip a piece of the fertile frond from the plant and place it in a paper bag. If you’d rather not take a piece of the fern, just hold the paper bag underneath the frond, using a knife to scrape the spores downward into the bag. As a general rule, spores that are whitish or green (ex. Osmunda sp.) do not handle long term storage well, so it is best to sow them as soon as you can. Spores of a darker color tend to do well in dry storage. If collecting a frond, store the bag in a dark, dry place for a day or two – long enough for the frond to dry completely. Once dried, you can collect the spores that have fallen to the bottom of the bag. Now you’re ready to process and sow your spores!
Sowing Spores
What you’ll need:
- Fern spores
- One sheet of white paper (for separating the spores from debris).
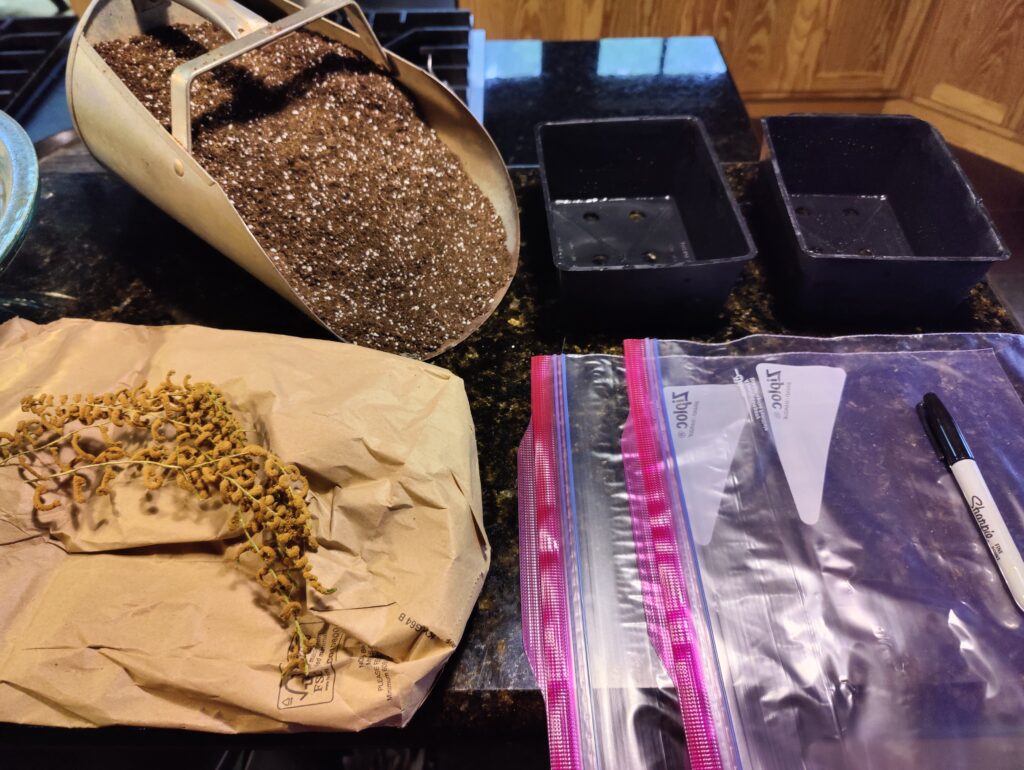
- Growing media. This must be very fine in texture, and high in organic matter. A finely sifted compost will do. In this demonstration, we use an equal blend of peat moss, compost, and perlite
- An open-topped plastic container with drainage holes in the bottom. This will hold the growing media.
- Hot water for sterilizing the growing media.
- A re-sealable plastic bag, large enough to fit around the plastic container. This will hold in moisture, and create a miniature greenhouse-effect.
- A sharpie for labeling the date and fern species.
- A clean environment with no wind.
- Spray bottle with distilled water for misting the developing ferns.
Step 1: Preparing the Growing Media
Start by labeling the resealable plastic bag with the name of the fern and the date of sowing. Set this aside for later. Next, fill the plastic container with growing media, leaving about 1″ of space from the soil line to the top of the container. Douse the media with hot water until it is fully saturated. Let the excess water drain out, and then carefully place the container in a sealed plastic bag. The growing media needs to cool down to room temperature before you can work with it, so, in the meantime, you can process your spores.
Step 2: Spore processing
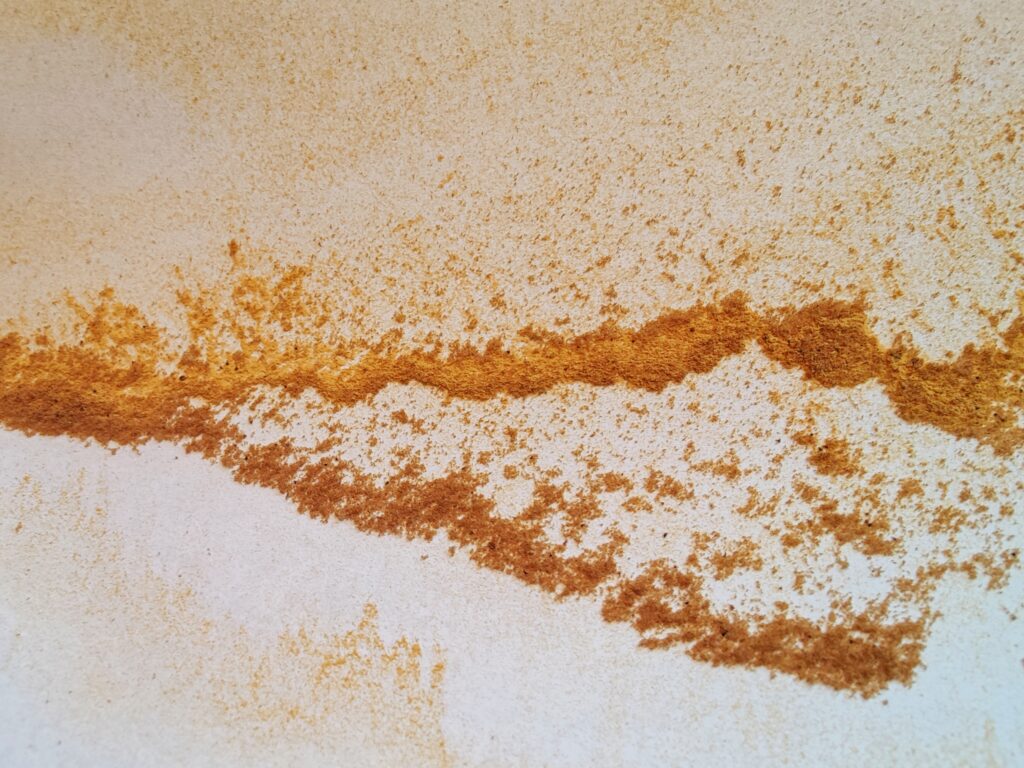
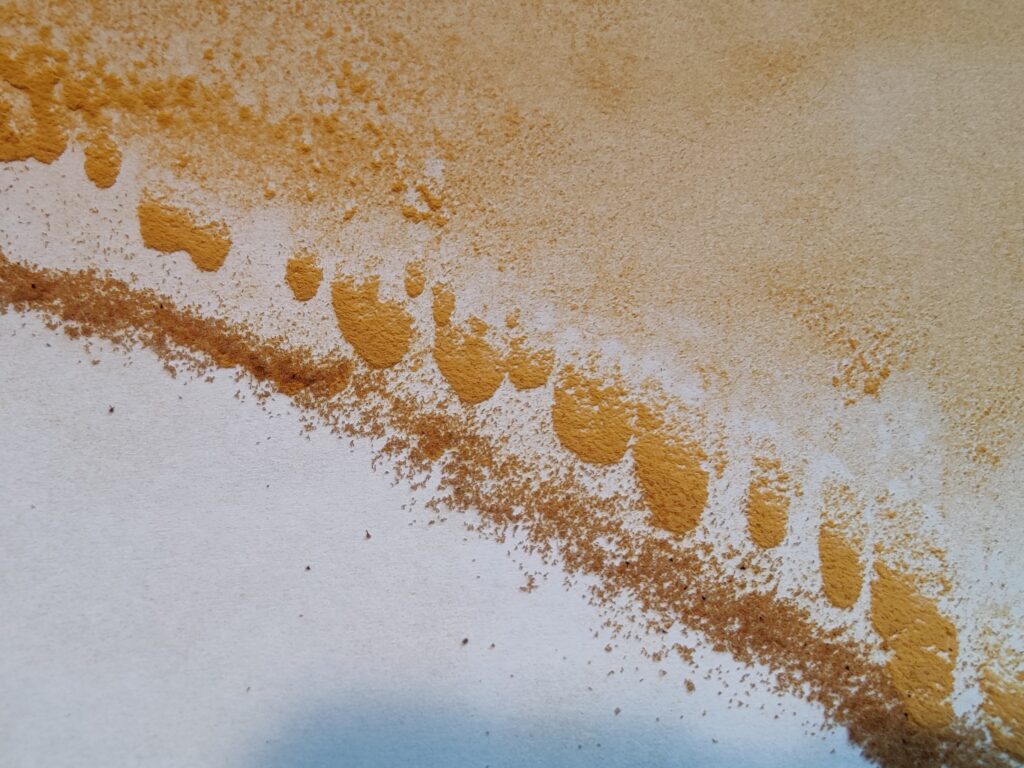
While you wait for the media to cool, you can separate the spores from their casings, and any other debris that may have joined your collection. It’s easily done by pouring out your spores onto a white sheet of paper, lightly bending the paper in half, and gently tapping the bottom side of the folded paper while pointing it downward. The dark brown spore casings, which are lighter than the spores, should start trailing away and falling from the paper. What you should be left with are the light golden spores.

Step 3: Sowing Spores
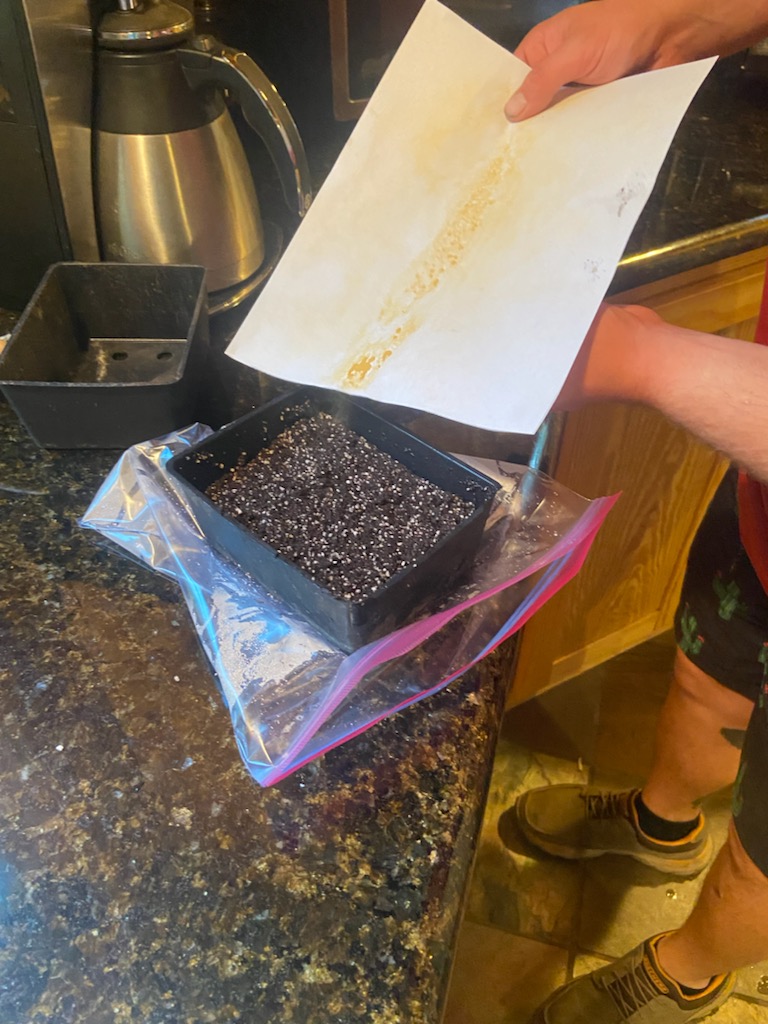
Once your spores are processed, and the growing media has cooled down completely, sow the spores by lightly tapping them off of the sheet of white paper, while holding it over the growing medium. Spores are extremely tiny, so you probably won’t see much of them as they cover the surface of the growing media. Be careful not to sow the spores too thickly (or too thinly). Sowing too many spores can inhibit the development of the prothali. Sowing too thinly leaves the growing medium exposed to potential contaminants. Place the container in the resealable plastic bag, and place under fluorescent lights or by an east facing window.
Step 4: Prothali Formation
Depending on what species of fern you are working with, it may take a week to several months to notice any changes. Eventually, a slimy green film will cover the surface of the growing media. At this stage, the prothali are forming. Because there is no moving water in your system to encourage the gametes to disperse, you will need to open the resealable plastic bag and mist the prothali with a spray bottle 1-2 times a week. Make sure you are in a sterile environment before opening the bag, and work quickly to limit any contaminants from entering.
Step 5: Development of Sporophytes
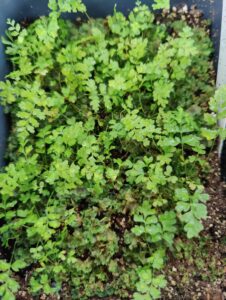
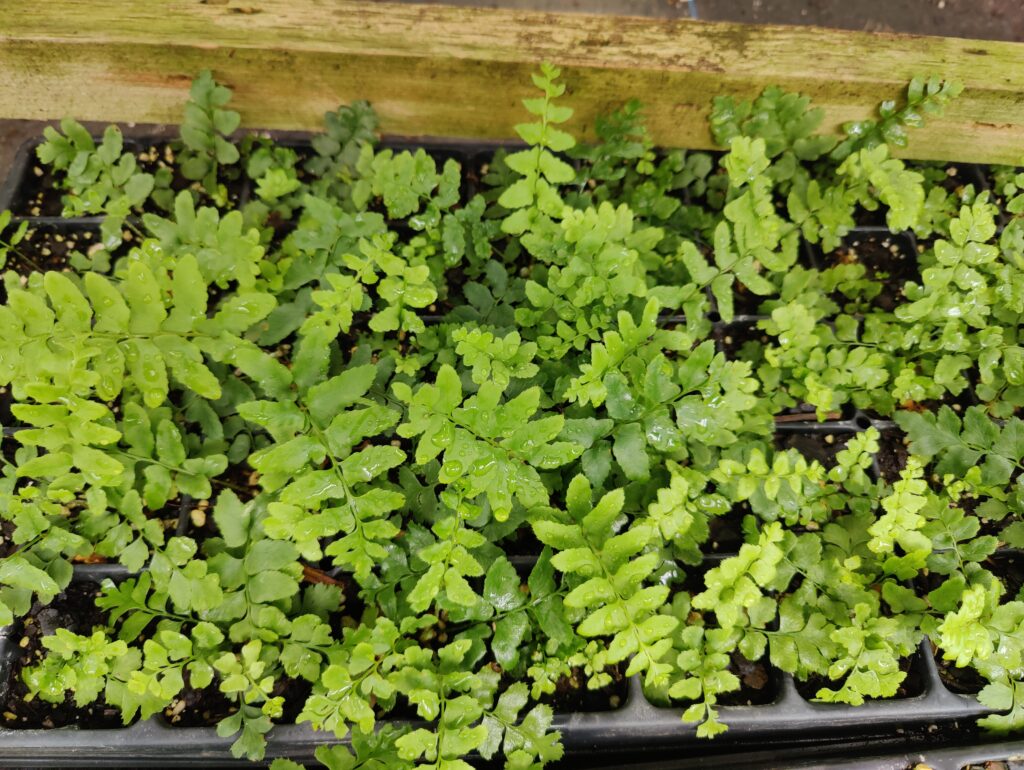
After a period of time spanning a few weeks to several months, you might start to notice small ferns – the sporophytes – appearing. Once these reach about ½ inch tall, they can be divided into clumps, and then transplanted to larger containers covered with clear plastic. Mist with water. Make sure this process is as sterile as possible. The ferns are still in a vulnerable state at this size. Place the ferns outdoors in an area with filtered shade.
Step 6: Division into Pots, Then into the Garden
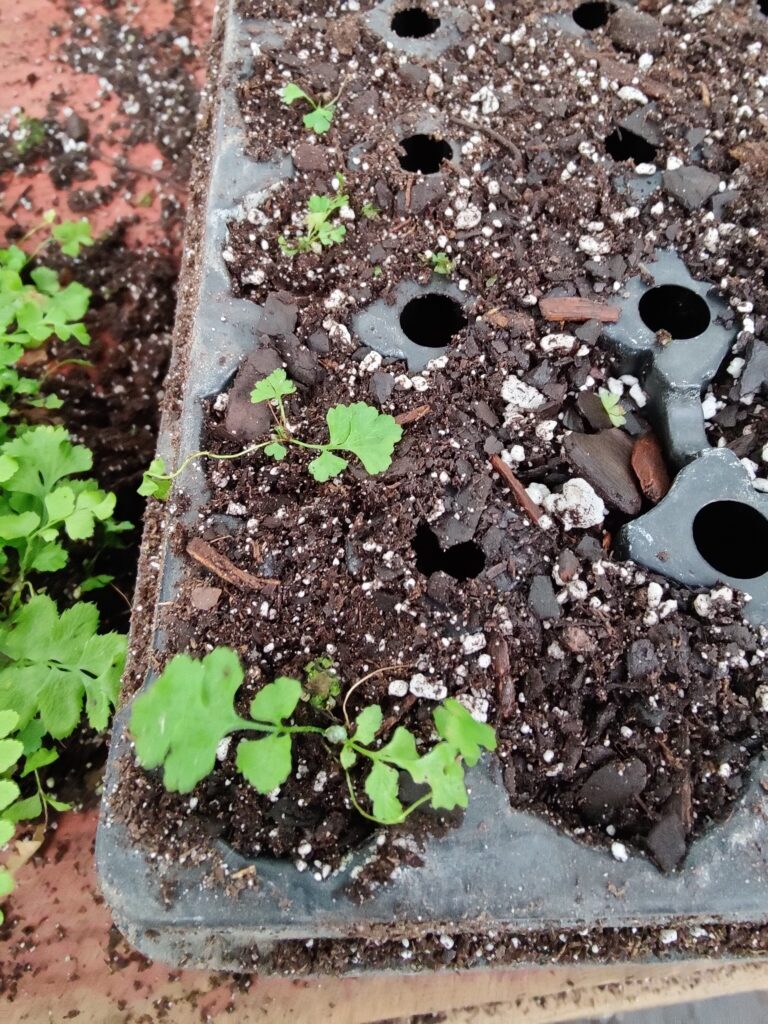
Once the ferns have reached roughly 25% of their mature size (3-4 inches tall), they are ready to be divided into single plants. Each fern should have several shallow roots at this stage. Take off the clear plastic covering from the container to acclimate them to the drier air a week before transplanting. Keep a close eye on them: they will need additional water during the acclimation period. Once the ferns have been exposed to the drier air for at least a week, they can safely be moved into pots outside, or planted directly into the garden.

Additional Resources:
Selecting Ferns for Georgia Gardens:
Article by Ellen Honeycutt- http://usinggeorgianativeplants.blogspot.com/2012/05/ferns-that-work-for-you.html
UGA Publication on growing ferns in Georgia- https://secure.caes.uga.edu/extension/publications/files/pdf/B%20987-2_7.PDF
Fern Identification:
Weakley`s Flora of the Southeastern U.S. 2022- http://www.herbarium.unc.edu/flora.htm